


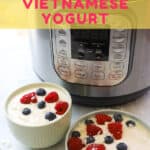
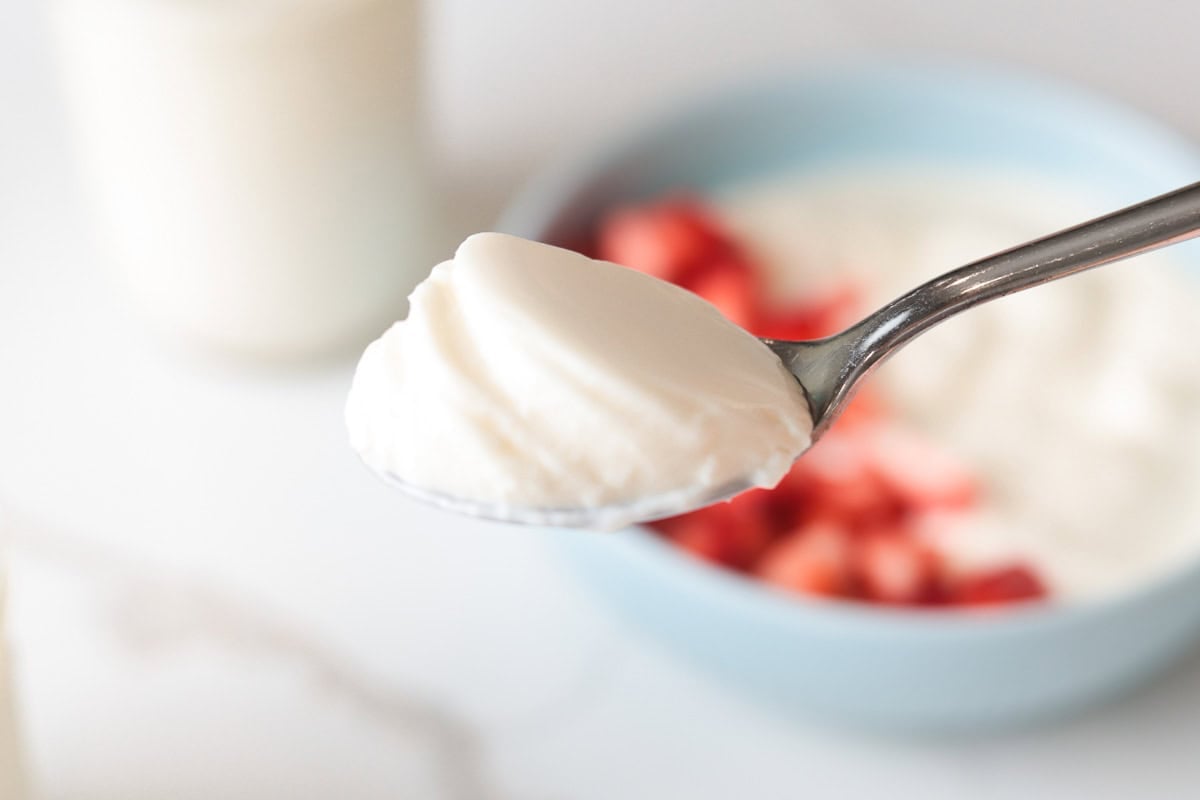
This is a classic Vietnamese yogurt recipe that is the perfect combination of sweet, tangy and creamy. It’s an easy and delightful treat for breakfast, snack or dessert!
Want to save this recipe for later?
Table of contents
Why My Family loves this Vietnamese Yogurt Recipe
- Foolproof and beginner-friendly to make in an Instant Pot or yogurt maker. Even my kids can make it!
- Only four simple ingredients
- Authentic Vietnamese flavor - creamy, lightly sweet, and tangy (better than store-bought).
- Budget-friendly and scalable. You can use your own yogurt as a starter for future batches.
- Fully customizable with fruit, honey, or crunchy granola topping.
What is Vietnamese Yogurt?
Vietnamese yogurt, also known as sữa chua or da ua, is a sweet and tangy yogurt traditionally made with sweetened condensed milk and milk. Unlike Greek yogurt, it’s smoother, silkier, and naturally sweet from the condensed milk.
Vietnamese yogurt uses live, active cultures. It has that tangy flavor because of the Streptococcus thermophilus and Lactobacillus bulgaricus that turn the milk into lactic acid that makes up for the thick texture and the tart flavor in the yogurt.
Ingredients
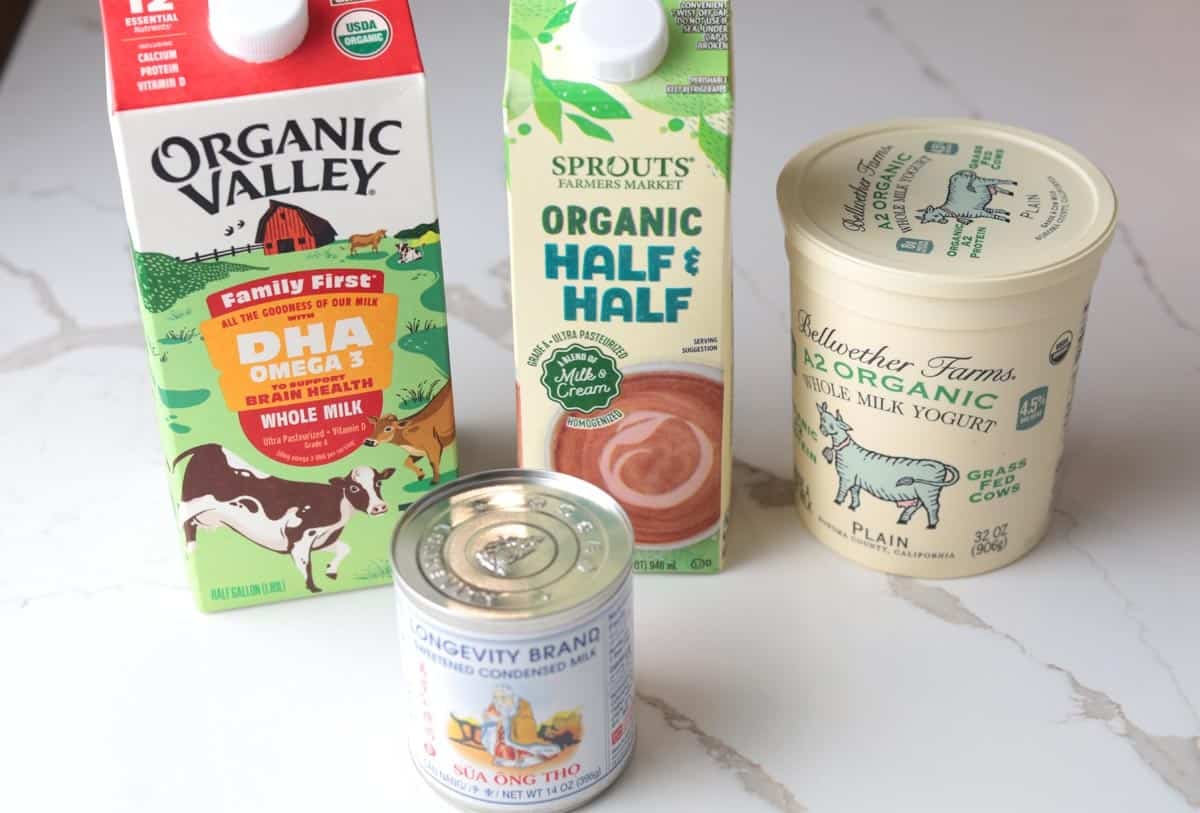
Milk - whole fat or reduced fat will work.
Half-and-half milk – this is the secret ingredient to getting that thick custard-y yogurt texture.
Starter - This recipe uses yogurt as the starter. Make sure to use yogurts with the “live active cultures” on the label to make sure that it can be a great starter to mix with the milk.
Condensed Milk - To get that sweet, tasty profile of Vietnamese yogurt, condensed milk is added. I recommend the Longevity brand for the authentic flavor.
Equipment
Instant Pot - I use a 6 quart pot to fit all the yogurt jars easily. The instant pot is great as it’s a multi use appliance. It does a great job to maintain a steady incubation temperature and is a reliable way to make homemade Vietnamese yogurt.
You can also use a dedicated yogurt maker. A yogurt maker is especially convenient if yogurt is a regular staple in your home, as it simplifies the process and delivers consistent results.
Small glass jars with lids - These are ideal for portioning into individual servings and make storage in the refrigerator easy and organized.
How to Make Vietnamese Yogurt
1. Whisk condensed milk and water.
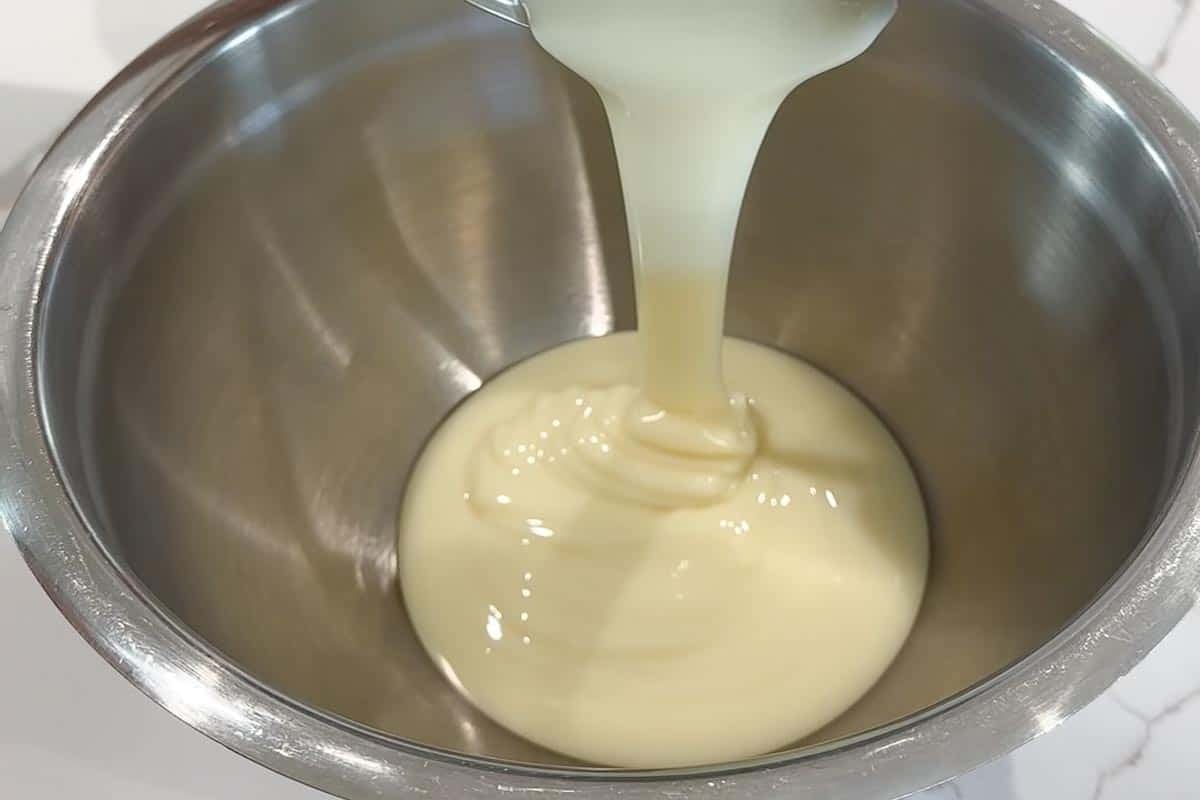
Pour the can of sweetened condensed milk directly into a large mixing bowl. Add warm water (not boiling!) and whisk until the condensed milk is melted and mixed through.
2. Add dairy and stir in the starter.
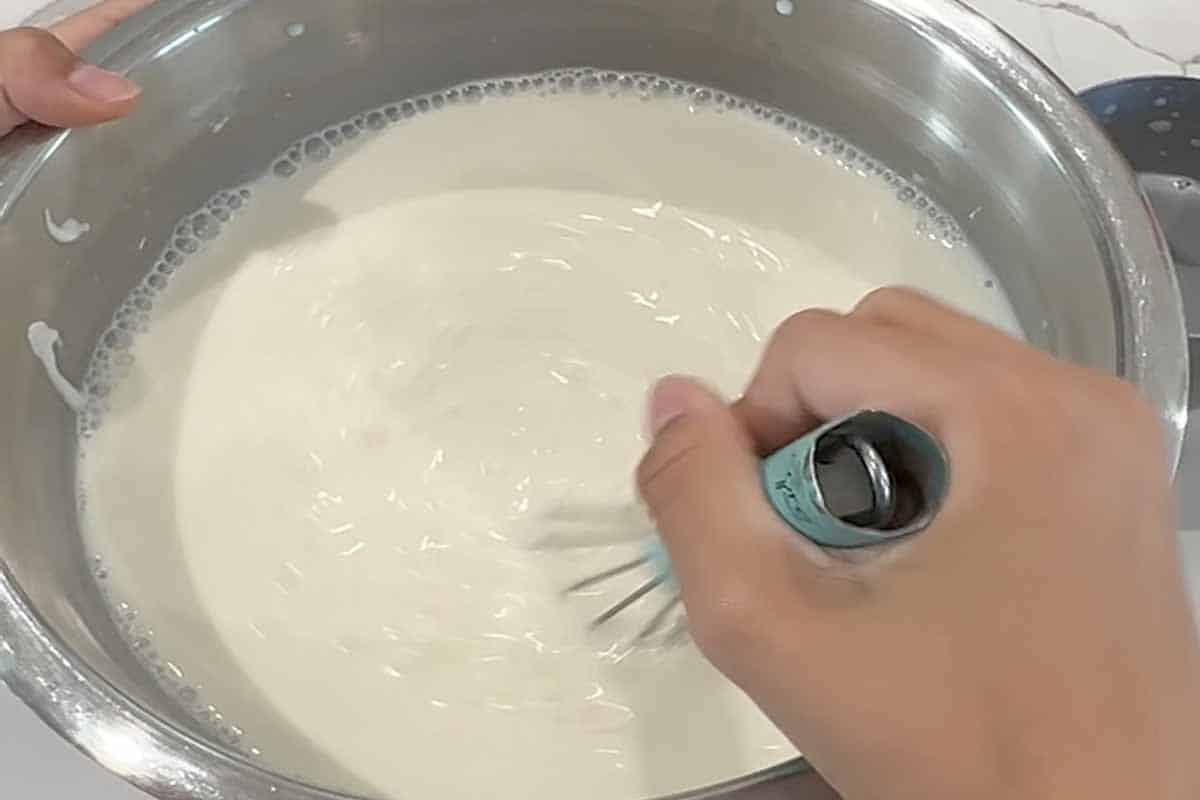
Stir in the milk, half-and-half, and yogurt to the condensed milk mixture. Whisk until fully incorporated with no clumps.
3. Scoop the yogurt mixture into yogurt jars. Fill it to the top.
4. Incubate the yogurt
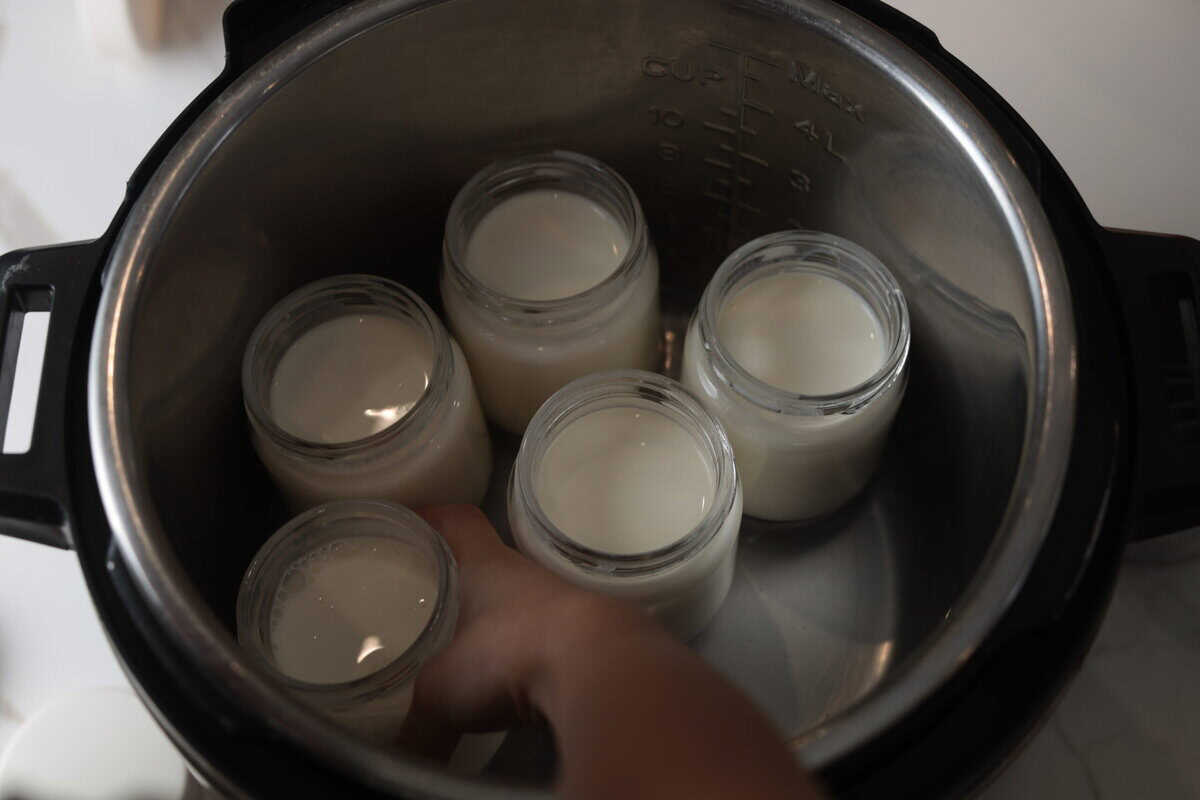
- Instant Pot method - add 1 cup water to the Instant Pot, place the yogurt jars into the Instant Pot, and place the lids on top of the jars (no need to screw them on, this prevents any moisture from getting into the yogurt). Close the Instant Pot lid and leave the valve open. Set it to the yogurt function on normal for 10 to 12 hours. Overnight works perfectly.
- Yogurt maker method - with a yogurt maker, pour the yogurt mixture into the yogurt maker’s pot or individual jars. Follow your yogurt maker’s instructions, make sure to add water to the machine’s tank up to the recommended level. Set to 111°F (44°C) and incubate for 12 hours.
5. Transfer and chill the yogurt mixture.
Once the incubation period is complete, secure the yogurt lids and refrigerate for 4–6 hours to fully set before serving.
How to get more tangy yogurt
Adjust the level of tanginess with two options
- Decrease the condensed milk - Lower the sugar amount by adding ½ or ¾ of the condensed milk can to get a more tangy and less sweet flavor.
- Allow for longer incubation (13-14 hours) produces tangier yogurt and reduces lactose content.
Pro Tips for the Best Da Ua
- Start with clean yogurt jars – Always sterilize your jars before filling them by pouring boiling water over them or running the jars through a hot dishwasher cycle. This helps prevent unwanted bacteria from interfering with fermentation, flavor, and proper setting.
- Whisk the starter thoroughly – Mix well to avoid small clumps and ensure even fermentation throughout the batch.
- Low sugar option– For a lower sugar version, use half the amount of condensed milk. The texture will still set properly.
- Setting the yogurt – After incubation, allow the yogurt to cool and chill in the refrigerator fully. It thickens as it chills, so don’t judge the final texture while it’s still warm.
- You may notice a layer of yellowish liquid on top of the yogurt. This is whey, a by-product of yogurt making and is normal. You can drain some out or just mix it into the yogurt.
How to Serve Vietnamese Yogurt
- Yogurt Popsicles: Pour the mixture into small plastic pouches or popsicle molds and freeze them for a refreshing "yogurt ice" treat.
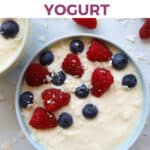
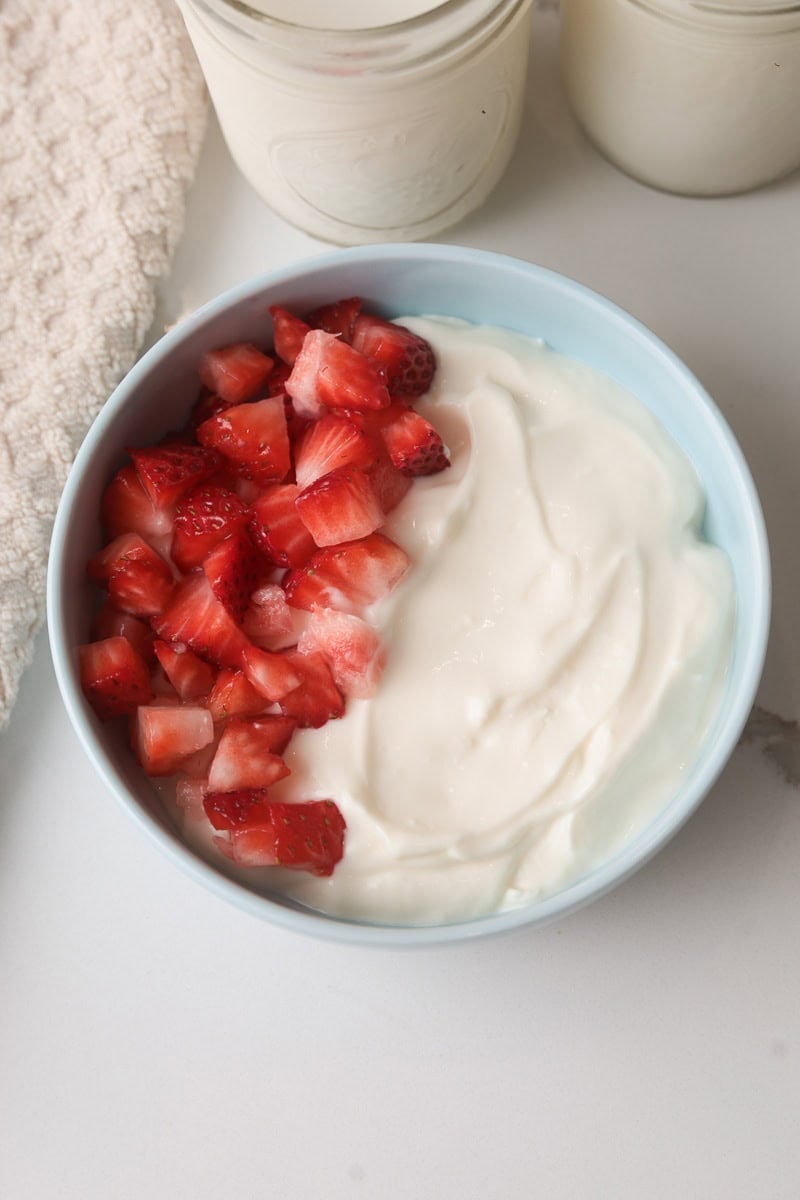
- Fruit Cups: Layer yogurt with strawberries, blueberries, mango, or lychee. You can also pair it with granola, chia seeds, and coconut flakes for extra texture.
- Sữa Chua Cà Phê (Yogurt Coffee): This might sound unusual if you haven't tried it, but Yogurt Coffee is a massive trend in Hanoi. Fill a glass with ice, add a thick layer of your homemade yogurt, and pour a shot of espresso or instant coffee!
- Yogurt-infused Smoothie: Make your smoothies creamier and tangier by mixing in this yogurt mixture. Try this beet and kale smoothie with Vietnamese yogurt!
Storage and Shelf-Life
Refrigerate: The yogurt will keep in the fridge for up to 2 weeks.
Freezing: For a cool, refreshing summer treat, you can freeze your yogurt in silicone trays and pop them out when ready to eat. Or enjoy it as a yogurt popsicle that is a hit with the kids!
Store them in the freezer in a freezer safe jar and enjoy them as shaved ice!
FAQs
Vietnamese yogurt is a unique combination of sweet and tangy because it’s mixed with sweetened condensed milk.
Yes, freeze it in a freezer-safe jars and shave it with a spoon for a refreshing frozen treat. Or you can pour it into popsicle molds for the kids to enjoy!
It’s usually due to short incubation time or that the water was to hot, which kills the cultures. Make sure the starter you use has live active cultures.
More Vietnamese Recipes


Vietnamese Yogurt (Da Ua)
Equipment
- 6-8 quart Instant Pot with Yogurt function or yogurt maker
- whisk
- 6 8 oz ball jars with lids
Ingredients
- 1 can (14 oz) sweetened condensed milk Longevity brand recommended
- 1 cup warm water not boiling!
- 1 ½ cup milk (use Non-fat for thicker yogurt)
- 1 ½ cup half and half milk
- ½ cup plain whole milk yogurt reduced or nonfat works
Instructions
- Add warm water and condensed milk to large mixing bowl. Whisk until condensed milk is melted and mixed through.
- Add milk, half and half and yogurt. Whisk all ingredients together, making sure to break up all clumps.
- Pour yogurt mixture jars, cover with a lid.
- For the instant pot ( use 6-8 quart pot) add 1 cup water to the pot, add the jars to the pot and set it on yogurt setting for at least 12 hours (overnight).
- If using yogurt maker, add jars to the yogurt maker and set it for at least 10-12 hours.
- Once yogurt is done incubating, tighten the lids and place jars into the fridge until it sets, about 4-6 hours. The yogurt will continue to thicken as it cools.
Notes
- Start with clean yogurt jars – Always sterilize your jars before filling them by pouring boiling water over them or running the jars through a hot dishwasher cycle.
- Low sugar option– For a lower sugar version, use half the amount of condensed milk. The texture will still set properly.
- How to get more tangy yogurt
- Allow for longer incubation (13-14 hours) produces tangier yogurt and reduces lactose content.
- Decrease the condensed milk - Lower the sugar amount by adding ½ or ¾ of the condensed milk can to get a more tangy and less sweet flavor.


Leave a Reply